|
Configuring a database & Scan2x to encrypt columns
1. Configuring the database to encrypt columns
•Install a certificate in the “User Certificates” area. (Optional, SQL Management Studio has the option to automatically generate a certificate if you do not have one).
•Go to the “Security” > “Always Encrypted Keys” tab inside the database, using the SQL Management Studio.
.png)
•In this step, you can use a previously installed certificate or generate a new one.
•Create a new “Column Master Keys”.
.png)
•Create a new “Column Encryption Keys” using the Master Key previously created.
.png)
•Select the table in which a column will be encrypted, right-click on the selected table, and choose the option “Encrypt Columns”
.png)
•Select the column, type and key.
.png)
2. Configuring Scan2x to encrypt columns
•Create a Job and go to the “Output Settings” tab.
.png)
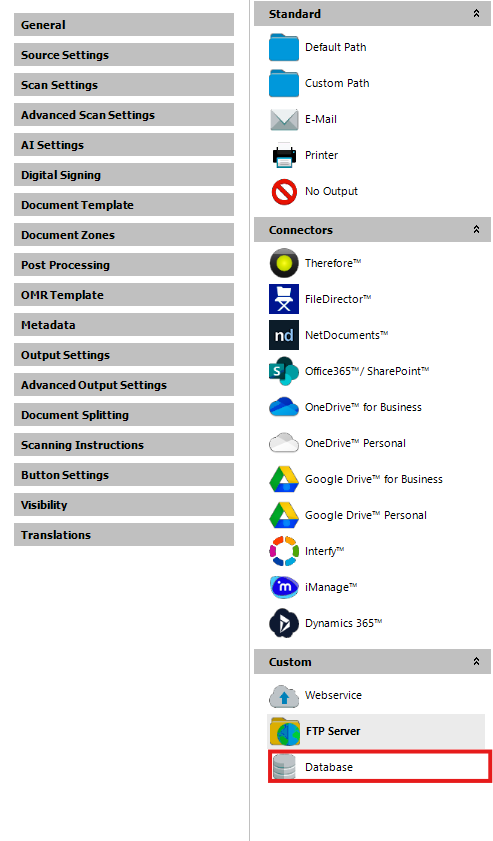
•Select the “Database” output option.
•Configure your database connection settings.
.png)
•After configuring the database settings, the table properties will be displayed in the right panel.
•Configure the last column with the desired properties and select the checkbox under the 'Encrypted' column to encrypt the database table column.
.png)
|